History of Vulnerability Scanning
Vulnerability scanning has evolved significantly since its inception in the early days of networked systems. In the 1980s, basic tools like COPS (Computer Oracle and Password System) developed by Dan Farmer. COPS was designed to automate the checking of system configurations against known security vulnerabilities, laying the groundwork for more sophisticated scanning tools.
The 1990s introduced more advanced scanners like SATAN (Security Administrator Tool for Analyzing Networks) released in 1995 by Dan Farmer and Wietse Venema was one of the first tools to automate the process of finding security vulnerabilities in networked systems. which automated vulnerability detection and highlighted the growing need for proactive security measures.
The 2000s saw the rise of commercial scanners like Nessus, which offered comprehensive scanning capabilities and a regularly updated vulnerability database. By the 2010s, these tools had integrated with other security solutions, emphasizing automation and continuous monitoring.
From History to Hands-On
Understanding the evolution of vulnerability scanning provides essential context for the tools we use today. Now that we’ve explored the development of these tools, it’s time to get hands-on and learn how to set up and utilize one of the most popular scanners: Nessus.
In the next section, we’ll guide you through setting up Metasploitable an intentionally vulnerable machine provided by Rapid7 and installing Nessus on Kali Linux. This will allow us to run vulnerability scans and demonstrate how these tools work in a real-world scenario. This practical exercise will give you firsthand experience in identifying and addressing security weaknesses within a networked environment.
Introducing Metasploitable
Metasploitable is easy to set up and run on the virtualization platform of your choice. By using this in a VM, you can simulate real-world scenarios where systems are exposed to potential threats, allowing you to hone your vulnerability scanning techniques without risking any production environments.
Metasploitable-vm link
I am using Parallels, an ARM-based virtual machine for Mac’s, but you can use whatever virtualization software you like. installation of the Metasploitable VM is very simple and doesn’t involve a lot of steps. When login is required, you will enter “msfadmin” as username and password.
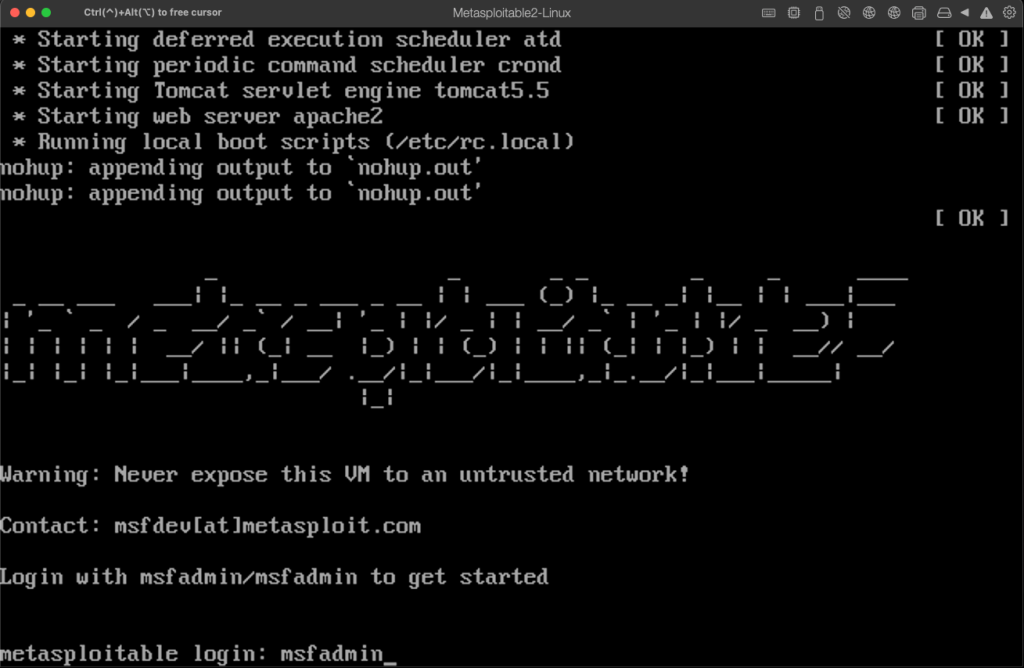
You will want to ensure that the metasploitable vm and the Nessus vm are on the same network and preferably off of your host network, as you don’t want a vulnerable machine on the same network as your other machines. After setting up a shared network between your Nessus machine and the metasploitable vm you will either want to use ifconfig or just add a range of devices if you have multiple in my example I will be using the single IP that my metasploitable machine is using to scan against.
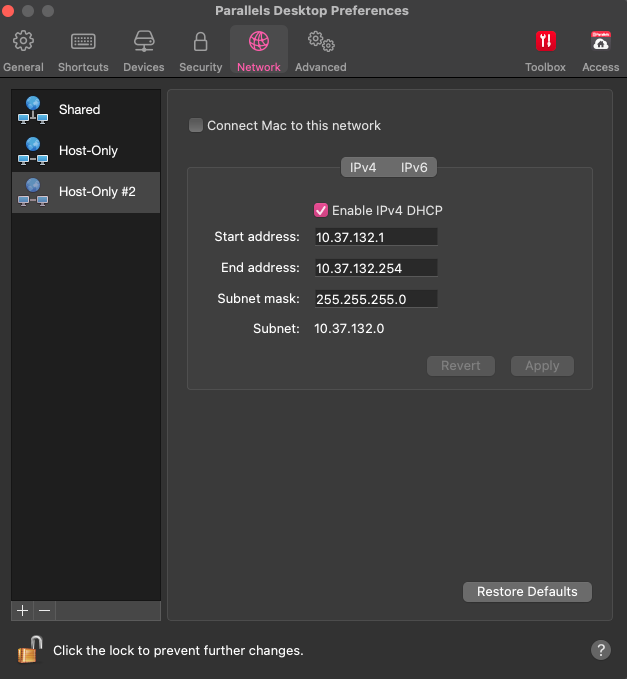
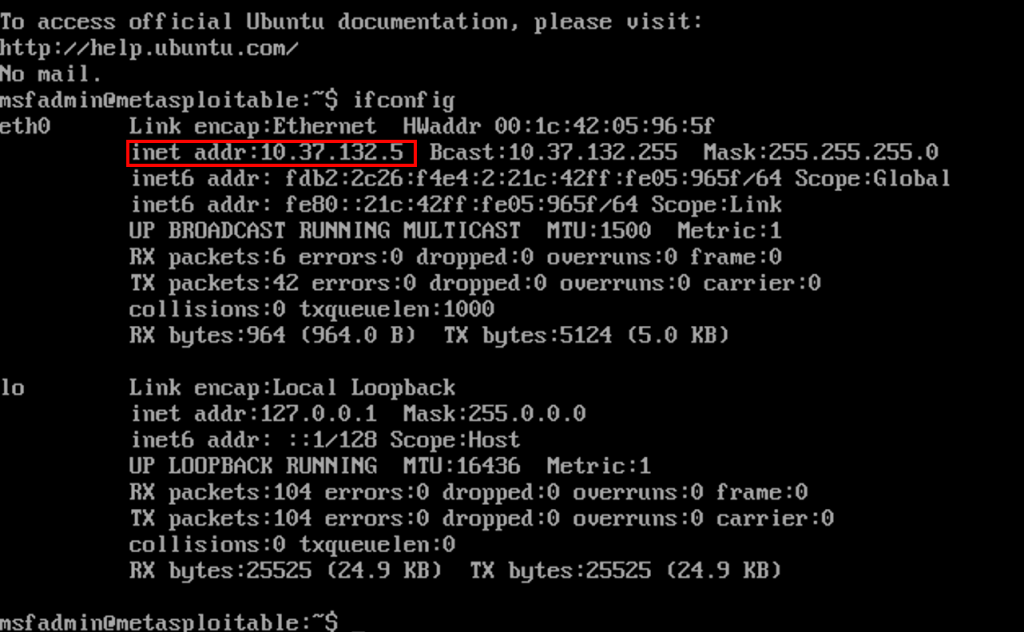
This is the IP that we will use to scan against after setting up and configuring Nessus on our other VM.
Installing and Configuring Nessus
Tenable Nessus Download
Navigate to the site listed above and download the Nessus package the numbers may change as the version is updated it’s just important that you install the Debian package if you are going to do this with Kali Linux.
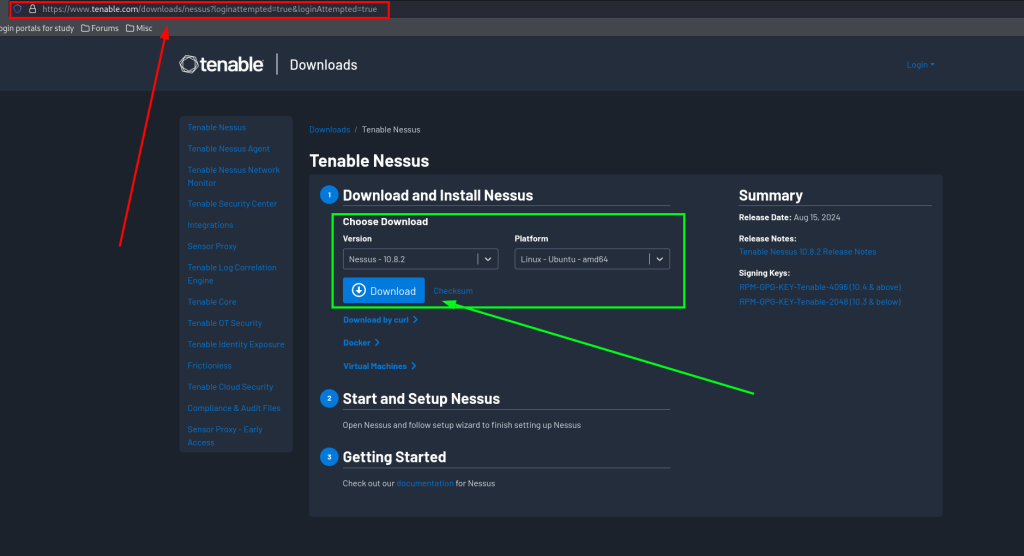
After downloading Nessus from Tenables site you will want to install the package.
It saved to my Download’s directory so we are going to open a shell and change directories.

After navigating to the Download’s directory we are going to run a few commands in the shell that will allow us to install the package on our machine.
chmod +x "Nessus package here"The version may change between mine and yours, but the following steps will be the same.
in my example it is
sudo chmod +x Nessus-10.8.2-ubuntu1604_amd64.debWe will use the dpkg command to install the package. You would run.
sudo dpkg -i "Nessus package here"in my example with my Nessus version.
sudo dpkg -i Nessus-10.8.2-ubuntu1604_amd64.deb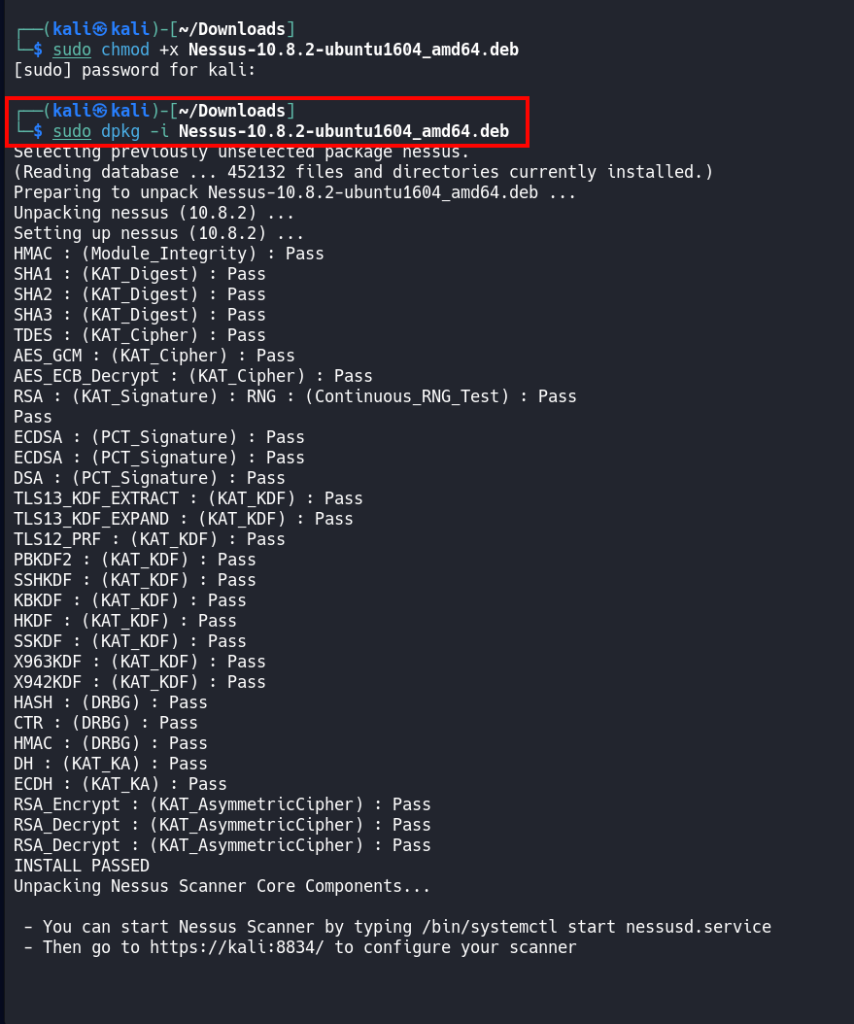
Now go and get your license for Nessus at the tenable website fill in your details, and you will be emailed the activation code. (Do be aware that you may need to use a different web browser or turn off certain extensions. I have found that if you use a browser or are using extensions that anonymize your internet usage the registration form to get your activation code will not pop up).
Registration link
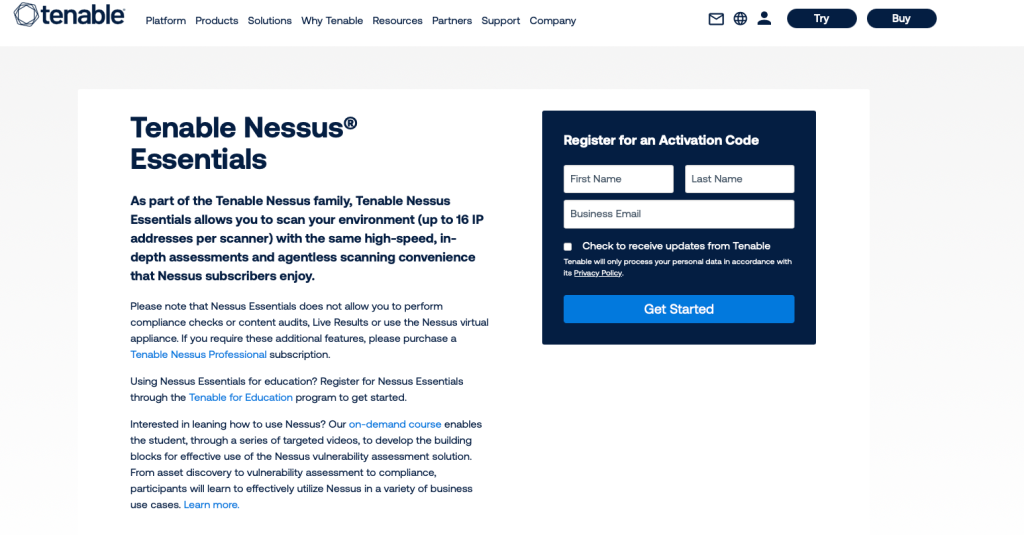
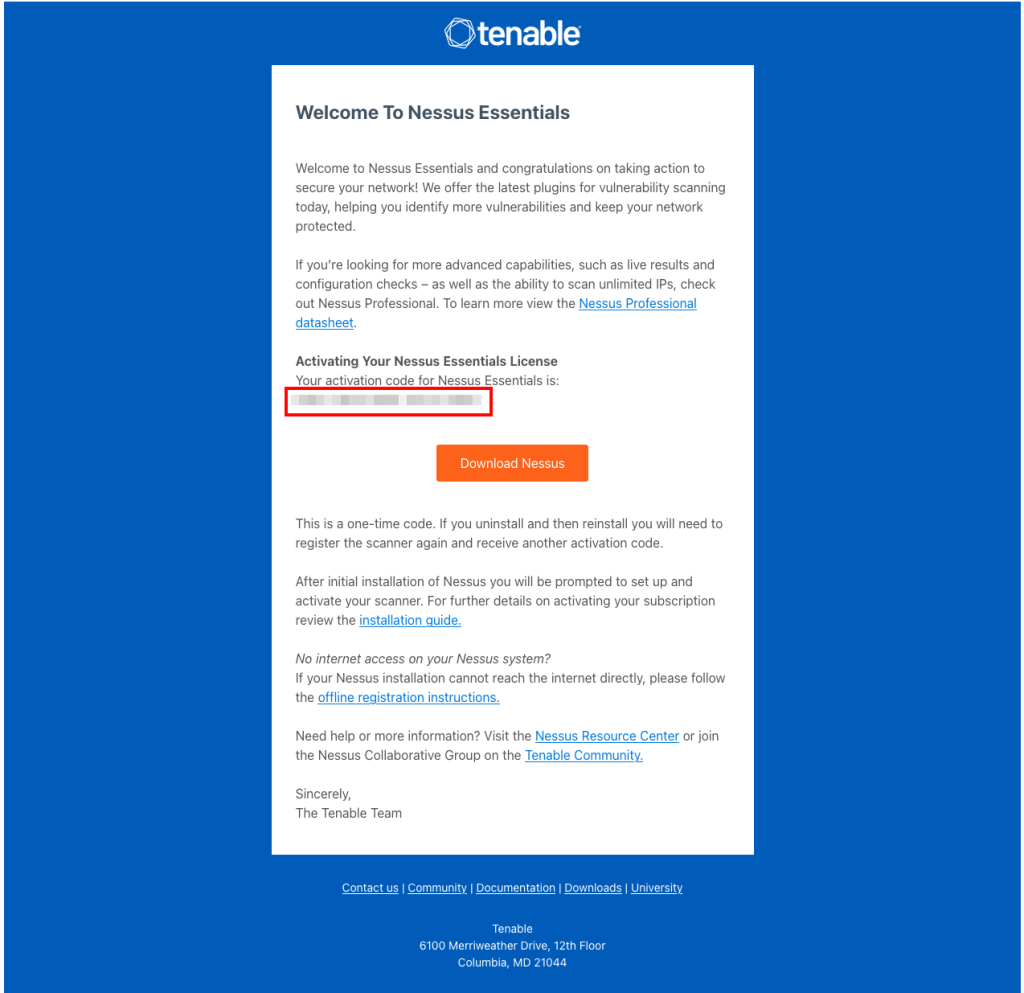
Get your activation code from your email to start the service.
Return to your terminal and start the Nessus service on your machine.
systemctl start nessusd.serviceHead to the link provided by Nessus after initial installation.

It may be different for you based on distro or IP configuration generally it will be at your devices IP address at the port 8834.
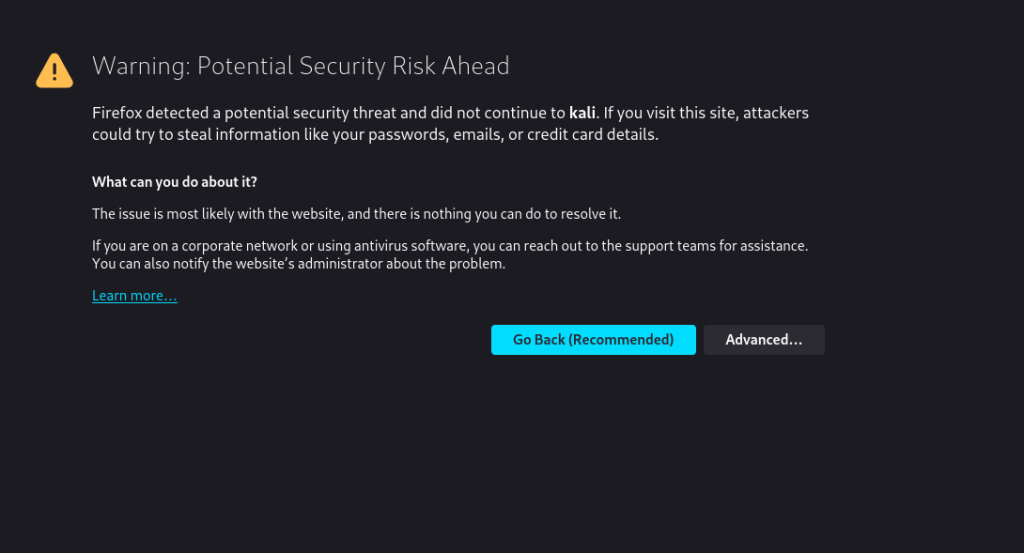
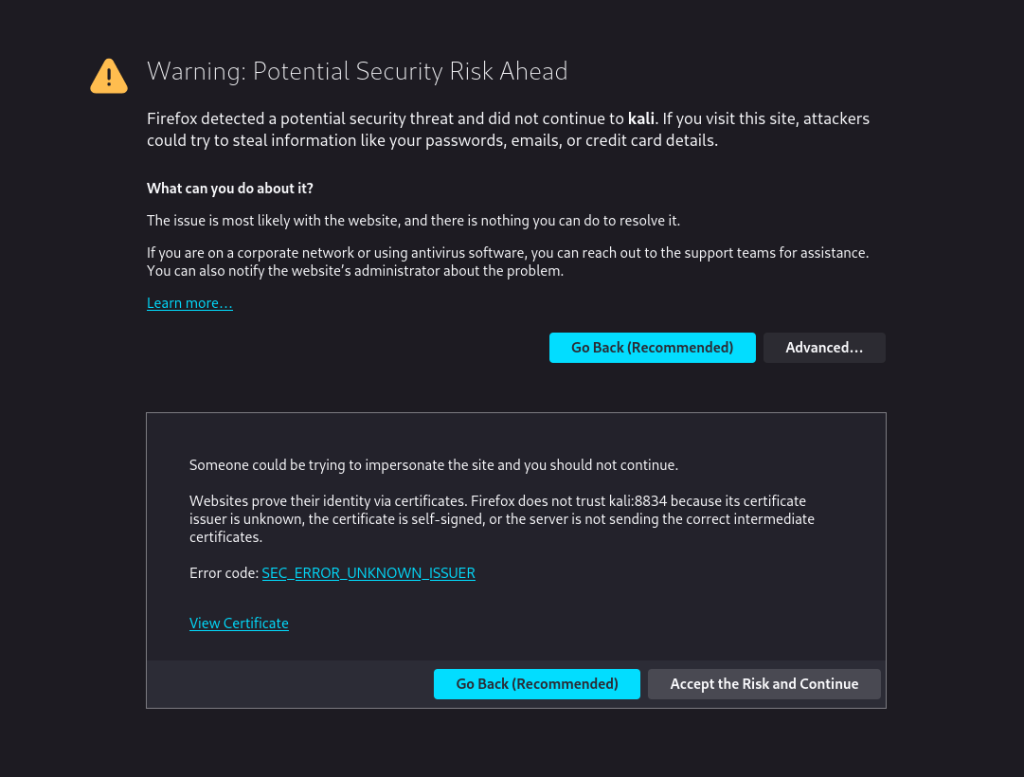
This is just a warning related to not having an HTTPS connection to go through click advanced and proceed.
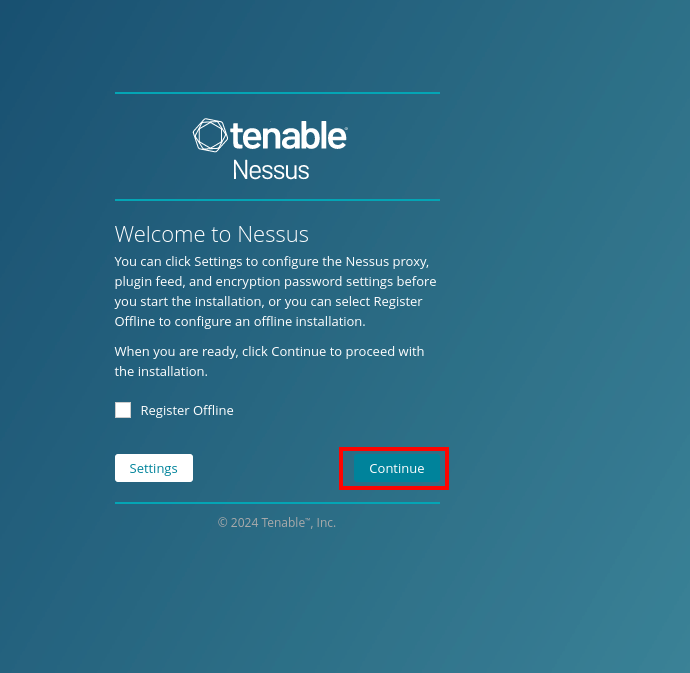
We will be met with the Welcome to Nessus page click continue.
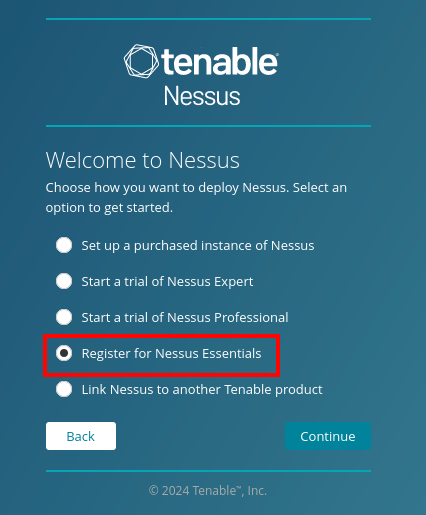
Choose to register for Nessus Essentials
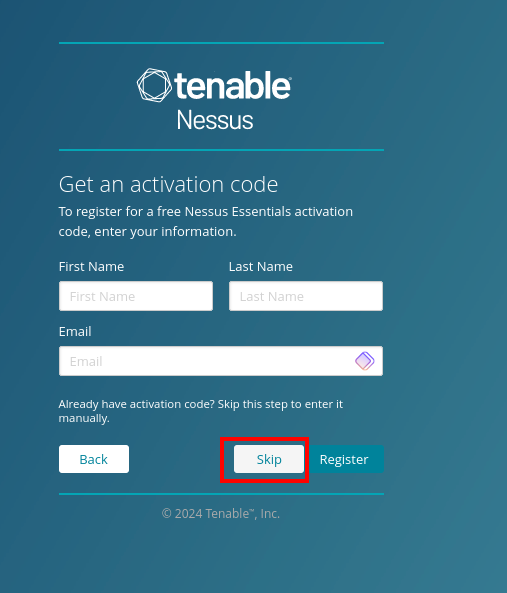
Skip this section as we have already registered for an activation code from Tenable for Nessus.
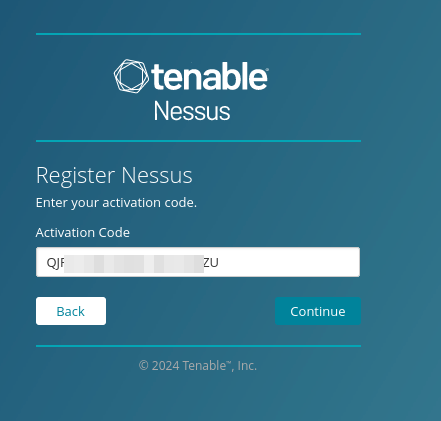
Enter the Nessus activation code that was sent to your email & confirm the license by clicking continue.
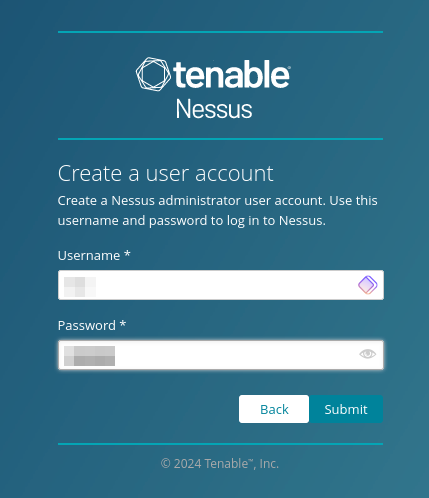
Create a username and password to administer the Nessus instance.
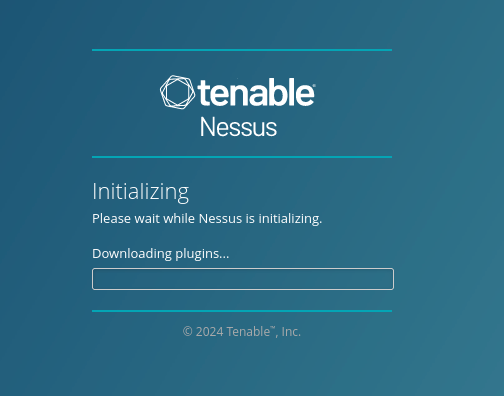
Now it will begin downloading the plugins this may take a few minutes until everything is set up for us.
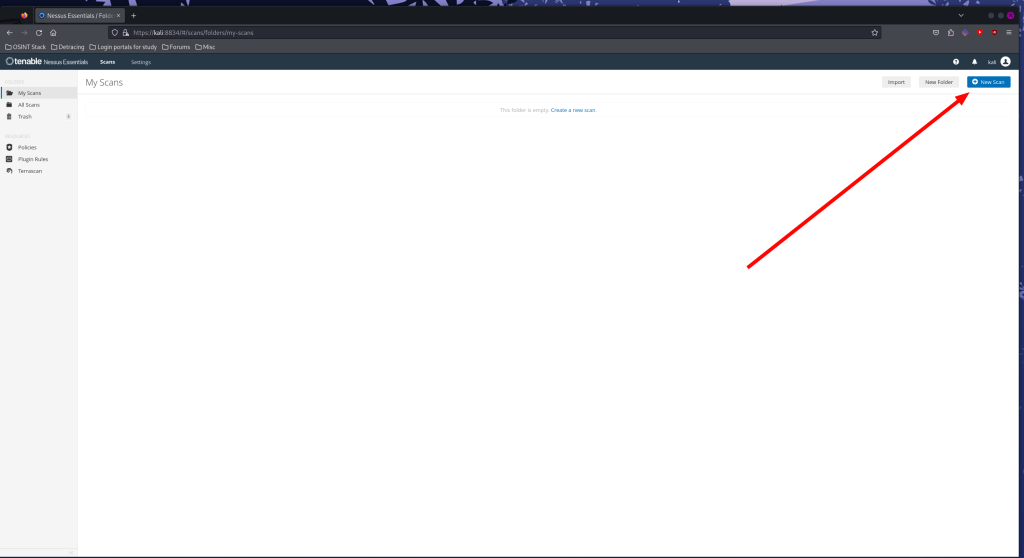
After Nessus finishes installing the plugins we will be met with the scanners home page. From here we will click ‘New Scan’
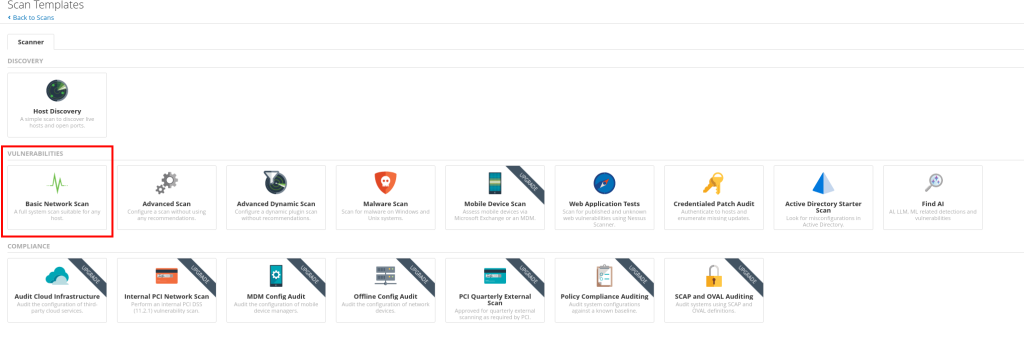
This will bring us to a page that shows us the scans available to us. We are the going to choose to do a basic network scan.
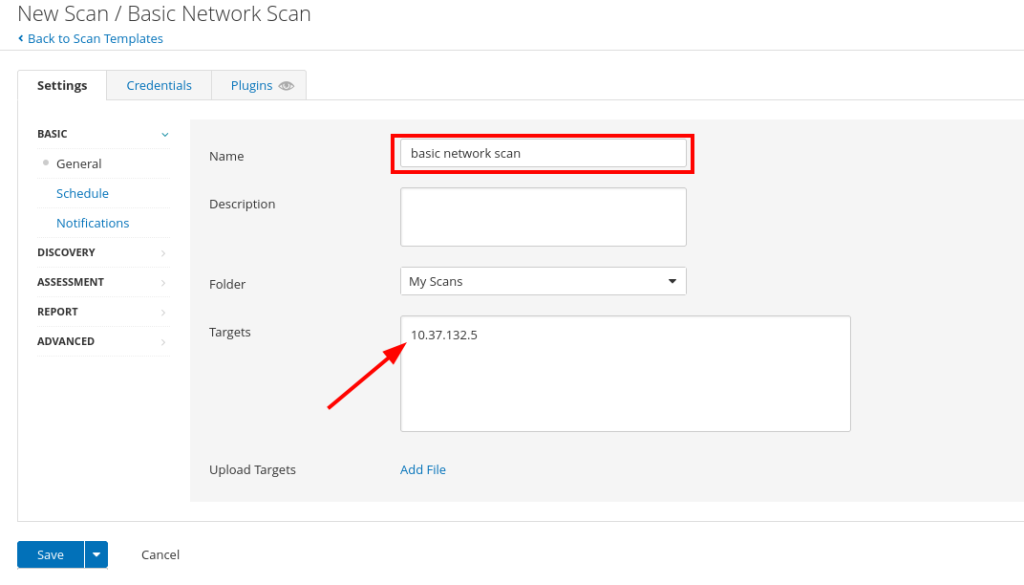
After selecting the basic network scan you will be prompted with the scan settings here you want to name your scan typically you would want to have a set of standard naming conventions but in this example we will just name it after the scan, you can also fill out a description for the scan where you want the scan to be located and then the target you want to scan. I will set it up to scan my metasploitable vm
Finish setting up your scan click save.
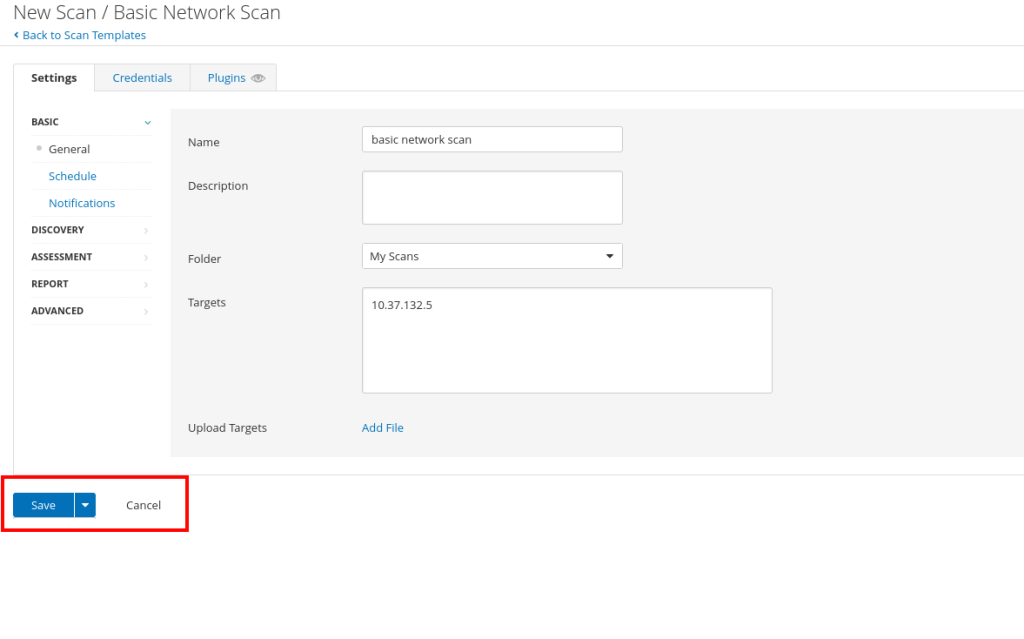
After clicking save, you will return to the home page. From here, click on the play button to launch the scan.

The scan will take a few minutes to run as it discovers the numerous vulnerabilities available on the Metasploitable machine. When finished, you will be presented with a color-coded bar of the different vulnerabilities Nessus has found.
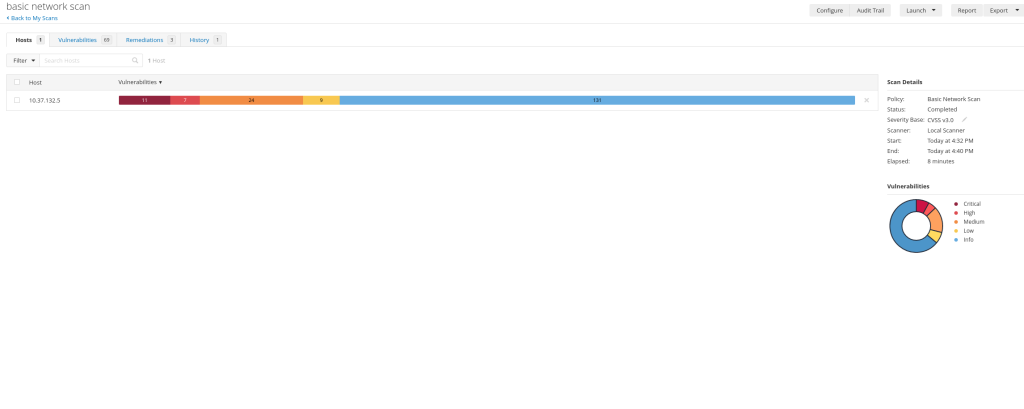
If you click on the IP address, you will be presented with a more detailed overview of the vulnerabilities discovered with the most severe vulnerabilities at the top of the list.
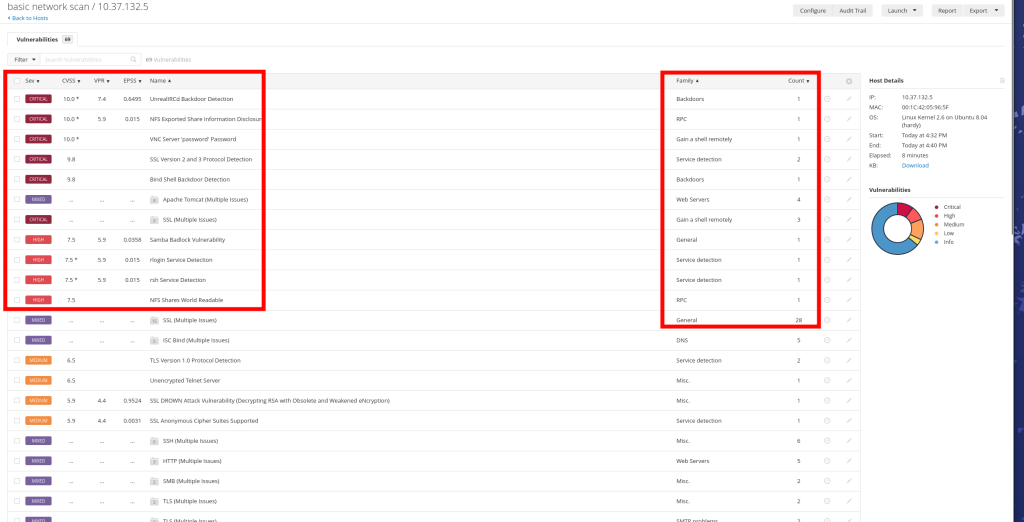
You can click on any of these vulnerabilities to discover why it is a vulnerability and how it can be exploited.

We can filter the discovered vulnerabilities to focus on the vulnerabilities which have known exploits available, which allows us to take advantage of this information. This can be done by clicking the Filter button just below the Vulnerabilities tab.

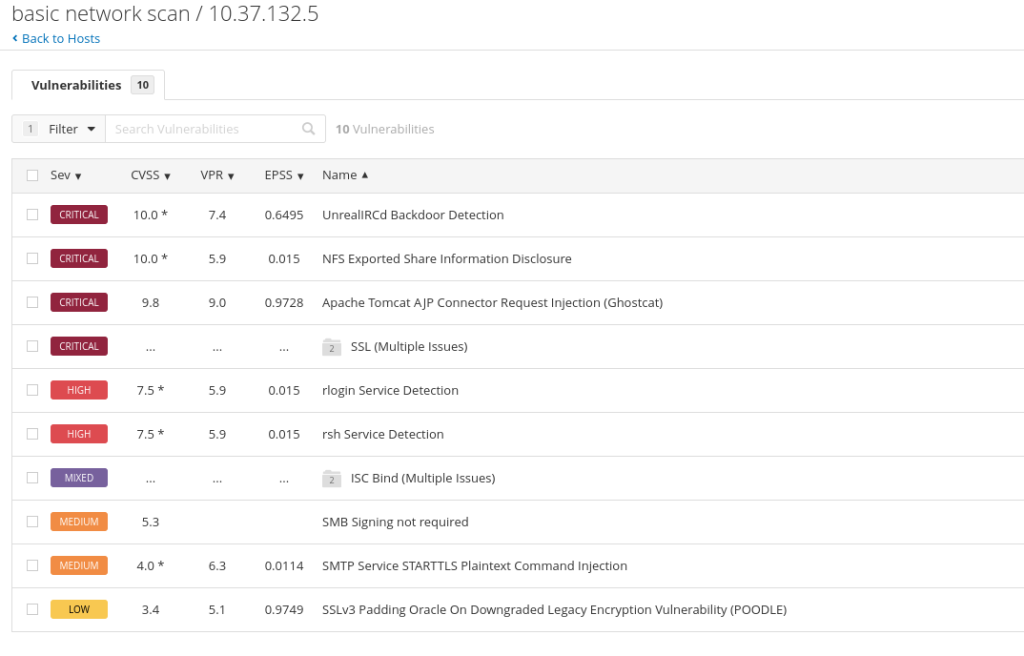
We are now left with a list of vulnerabilities which we are able to exploit. Click on the vulnerabilities to learn how they can be exploited and why they are vulnerabilities in the first place.
Wrapping up
In conclusion, setting up Nessus and conducting vulnerability scans are pivotal steps in strengthening network security. This post has walked you through installing Nessus on a Kali Linux VM detailed the initial configuration, and demonstrated how to execute scans to identify vulnerabilities on our Metasploitable VM. By regularly using tools like Nessus, you can proactively detect and mitigate risks, ensuring your network remains robust against potential threats.
